

MOST WONDERFUL NEWS!!!
I made it to the Top 5 in the Hand Embroidery Category of the Urban Threads Coloring Contest! You probably already know Urban Threads (UT) as the designers of amazingly cool machine and hand embroidery patterns, and may remember their last Coloring Contest held 2013 with the Create theme.
Although I'm fairly new to embroidery, and this is my first time doing an embellished piece like this, when I saw the theme of this contest design - which is "Art is Craft" - I was very inspired by the sentiment and decided to try a version of my own.
I deliberately chose to use more "crafty supplies" - craft thread, buttons, beads and sequins - to enhance the message. All of them were inexpensive, and pretty common.
The two satin butterfly appliques and the fanciful peacock-inspired Feather were added to symbolize Creativity, and the idea of "Letting your imagination soar!"
The coloring method I used was Crayon Tinting (learned from this tutorial with a very cute pair of pears on the UT site), and the outline was entirely hand-stitched using a variety of stitches, and heavily embellished with beads and sparkle :)
There are two categories in the contest, the first is Machine Embroidery which has 10 Finalists and Hand Embroidery, my category, which has 5 Finalists. I'm so thrilled to be considered as a Finalist, and I would really love to win the amazing prize pack.
Please - pretty pretty please! - consider visiting the contest and voting, as there is so much talent on display and all the interpretations are very different!
To see all the entries and to vote, please visit this page:
Voting is open to everyone and takes only seconds - and you do not need to sign-up or enter any personal information! The winners will be chosen entirely by popular vote, so I'd really appreciate your help :)
Voting closes May 10 at Noon, Central Time
As a stitcher, I always enjoy learning more about the maker's creative process and reading about how a project develops! So I'd like to share some more information about my entry, including materials and stitches. First, here's some detailed photos:

Here's a view from the side to show the dimension the beads add to the design

Here is a close-up of the fanciful Feather, filled with beads and sequins and an acrylic heart gem, which is super sparkly! This ended up being one of my favourite parts :)

And this is a collage showing my stitching progress, from Crayon Tinting to Stitching to the start of Beading to the Final Embellishment. I learned so much along the way!
This project has been a marvelous experience for me, and it wasn't easy. I had to totally rethink my approach several times. I started off with the idea to invert the design colors and stitch a white outline on black fabric, and color it with sequins, but that didn't work out. It's so hard to transfer an embroidery design onto dark fabric!

So by necessity I needed a light fabric to trace the design on, which finally lead me to using a basic white polycotton. Because it was a little thin, after tracing I backed it with iron-on interfacing from Pellon. This made it sturdy enough to stitch on!

After pondering many different ideas on how to add color, and nearly giving up all together a few times, I remembered Crayon Tinting and looked up some tutorials online. In addition to the UT tutorial, which was my main inspiration, I found some others at Wild Olive, Little Dear Tracks, Pimp Stitch and A Girl In Paradise. All the tutorials say that you should use light pressure, so you can build up the color, and short strokes to keep it even, and there is an interesting video showing this here.
There is also an alternate White Background or Foundation method developed by Crabapple Hill Studio for quilts with embroidered blocks, which is illustrated in photo tutorials at Blueberry Backroads and Sew Mod. A video for this is here.
Both methods use a hot, dry iron to set the wax, which then seeps into the cloth. It is semi-permanent, and so Crayon Tinting is not recommended for washable items.

Here are some testers I made: White Background at top, Just Color at bottom

After Ironing: White Background on left, Just Color on right
As you can see, I found that the White Background method did not work for me. The white wax seemed to saturate the fabric, making it difficult to color over and leaving streaks, and when it was ironed, the coloured wax bled badly outside the lines and made the fabric very stiff. It also faded the color and made it look blotchy.
So I recommend coloring directly on the fabric, though coverage will depend on the materials you are using so doing quick testers like these might be a good idea. The one thing everyone seems to agree upon is the superiority of Crayola Crayons.

So I dug out my trusty old 64-pack tin; I was gifted this new in 1993! I collect tins, and I've always loved this one. It's been years since I've done anything with crayons, but the smell of the wax immediately took me back to my childhood :)
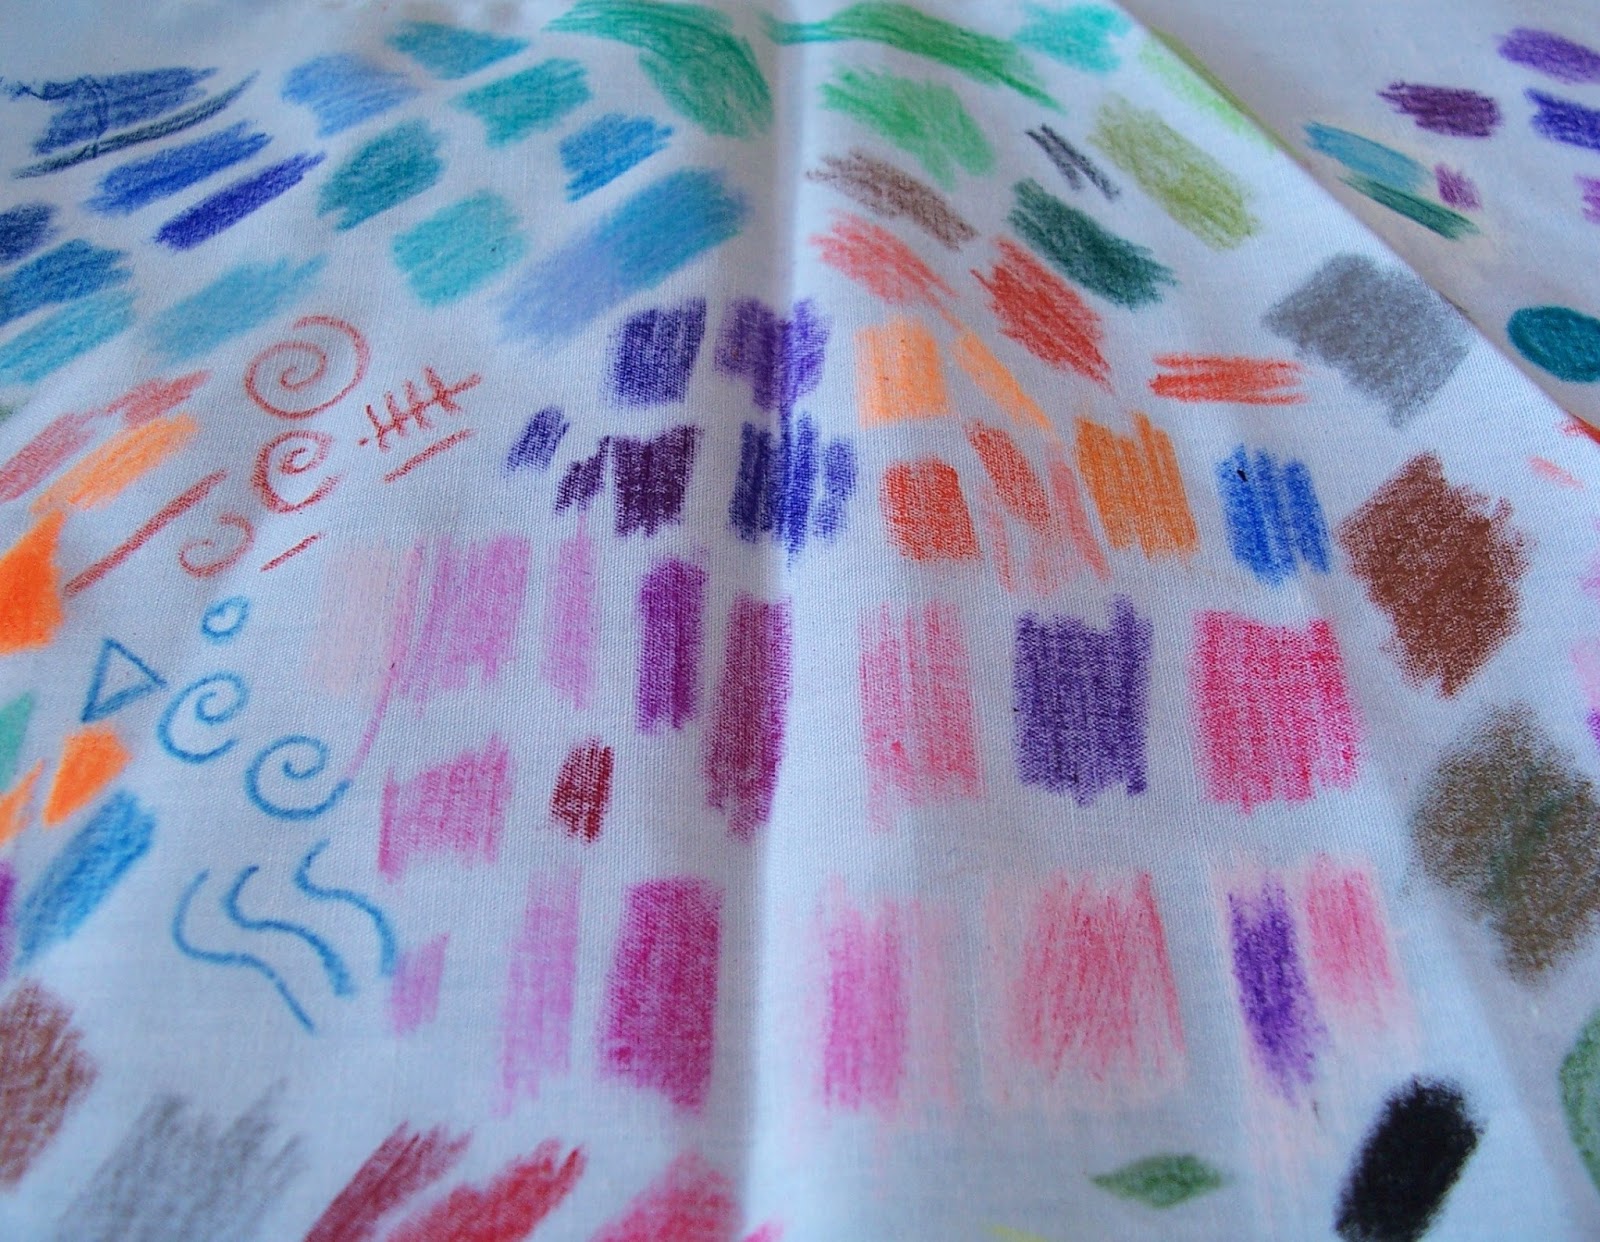
After some scribbles on scrap fabric, I chose some colors to match my thread:

I used Loops & Threads Craft Thread (the Michaels Brand), which is like a coarse version of Perle (Pearl) Cotton. I loved the fun, bright, vibrant colours and they were easy to work with with! In the end, I didn't use the Lavender in the photo above but added a Dark Green J. P. Coats Craft Thread, so I used 12 different colours in all.

The seedbeads I used to outline the letters - which was done by mostly by Couching - are inexpensive large "E" glass beads, with a pretty transparent AB (Aurora Borealis) finish. As you can see, I actually bought them at the dollar store :) I used all of the colors (7 total) except the gold at the bottom right.


Close-Up of Buttonhole Wheel (Yellow) Flower Center
Hand Embroidery Stitches Used Include:
1. Back Stitch
2. Stem Stitch
3. Long Stitch
4. French Knots
5. Blanket Stitch
6. Buttonhole Wheel
7. Detached Fly Stitch
8. Chain Stitch
9. Heavy Chain Stitch (used on the Feather outline, learned for this project)
10. Scalloped Buttonhole Picot Trim (also learned from this project, variation of this trim by Mary Corbet worked over Back Stitch instead of Chain Stitch)
11. Cross-Stitch (used to sew on the buttons)
12. Couching (the majority of the beading)

Close-up of Scalloped Buttonhole Picot Trim Flower Petals
Finally, after the stitching and beading was finished, and I had filled in the fanciful Feather with sequins secured with smaller coordinating seedbeads and bugle beads, I added some embellishments. I used three colors of basic shirt buttons as accents.
Then, a serendipitous thing happened: while sifting through the tin where I keep my sequins and fancy trims, a little bag of puffy satin butterfly appliques fell out! And I suddenly remembered buying these appliques many years ago when I was about eight years on, a trip to Florida to visit my Grandparents.
Butterflies have always symbolized creativity to me, and when two of the appliques just happened to match perfectly, I just couldn't resist adding them!

To sew them on, I used coordinating Craft Thread and took Long Stitches over the wing joins and then made antennae using Long Stitches and French Knots! I hope they bring me a little luck in the Contest :)
So there you have it! My Craft Is Art embroidery from start to finish. Overall, the best thing about this project is that once it got going, it was FUN. Working with the bright colors of the crayons and the chunky threads all brought me back to the many very happy hours I spent coloring and crafting when I was a child ;)
I know Adult Coloring is a huge trend right now, and I even bought a book to try, but I don't think it's for me. But this method of "coloring" embroidery with threads and embellishments is something I can get behind, and I may try it again in the future!

Please consider voting for me!
I would greatly appreciate your support :)
If you have any questions about my entry, feel free to ask away in the comments! What do you think about Crayon Tinted Embroidery - would you try it?
7 comments:
I voted for you! And too be honest.. I actually think yours is the best :o)
I do hope that you win.... it is stunning! Well done being a finalist in the competition :o)
Hugs xx
Me too, and I agree with Noni that yours is the best. Great work!
Thank you very much for your lovely comments and your votes, Noni and Agi :) I really appreciate the support!
Absolutely gorgeous,so creative and a fascinating write up of how you built up the layers.
Hubby and I voted and we agree with Noni,yours is the best,the most creative finish.
Lesley, thank you and your husband so much for your votes and your lovely compliments! Very glad you enjoyed reading about the project :)
REally great work. Congratulations. I tried to vote but it was to late.
(me and mama Creations)
Post a Comment