Friday, April 1, 2016

Etsy Treasuries: Becoming a Curator


In all honesty, I am completely hopeless at Social Media. After all these years, I still refuse to join Facebook, only have a vague idea of what Instagram does, and have absolutely no clue what that Periscope stuff is all about. It's all a mystery to me!

Back in my day (which wasn't all that long ago, oh the irony!) we didn't have a 150 character limit, and tweeting was something only cute little cartoon birdies did.

I am, to put it mildly, wildly behind the times. And I'm mostly okay with that LOL ;P

However - a friend of mine is really getting into home decor lately and we've been doing a lot of window shopping in real life, just checking out different ideas.

I truly think when it comes to finding your own style in anything - be it throw pillows for your couch or paintings for your wall - it really helps to just browse around! If you keep an open mind, I guarantee that you will find inspirations that will help you narrow down and refine your vision so that you can go looking for what you actually do want, and it greatly increases the probability that you will find what you want.

These days, the best way to find unusual and nifty things is online. Now, I much prefer to shop locally, and I don't have much experience shopping online, but I have been doing a lot of virtual window shopping this week and it's super FUN! I think the biggest platform for this is Pinterest, but the site is so huge that it's overwhelming.


So I decided to start off a little smaller, and joined Etsy instead. My Profile is under AureliaEglantine. There isn't a "Friends" function that I can see, but you can Follow other users. The main advantage of having an Etsy account, if you aren't a Buyer or Seller, is that you can become what they call a "Curator".

This means you can "heart" or Favourite items you like. These are automatically saved to an "Items I Love" list, but you can set up other lists with your own titles and sort listings your own way. Setting up categories makes it easier to find things later.

And you can collect up to 16 such items into a little collection called a Treasury!

Most Treasuries have some sort of theme, usually indicated in the title, and include items from different shops. Although you could have all 16 listings come from one shop, it seems to be frowned upon, as is self-promotion (which is linking to an item in your own shop if you are a Seller). Treasuries are fun and easy to make, and the best part is that the thumbnails of the images take you directly to the full listing.

So if you see something you love and really want you can actually buy it, if the listing hasn't expired. This is very convenient, especially compared to Pinterest where you can end up spending a lot of time trying to trace an image back to its source and often hit dead ends. And Etsy is also great for thrifters, as there is a lot of Vintage (you can filter your searches by Handmade or Vintage) too, although the values vary widely.

The Treasuries look a little different on the Etsy site, and you can view a list of all of them on my Profile here (or click on the titles below to go directly to that specific Treasury). But thanks to a neat free tool from Toastie Studio, you can also add Treasuries to your blog, so here are three full of interesting stitchy treasures:

Stitchy Goodness: Light & Lovely

Soft, lovely colours perfect for Spring stitching!
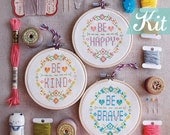
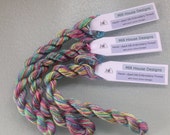
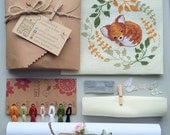
Modern quote Cross Stitch KIT-Be Happy Be Brave Be Kind -Floral Happy Modern Funny typo graphicCOSMO Sparkle Embroidery Thread Floss Set of 5 Colors | Metallic Embroidery Floss, Metallic ThreadNeedlework Silk ThreadsDMC Embroidery Floss 6 Stranded Cotton Embroidery Thread cross stitch bright vibrant red pink fuchsia Hand dyed embroidery thread variegated
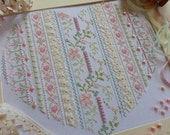
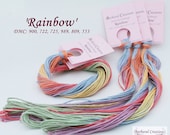
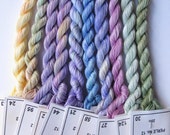
10y Antique French Early Flat Pink Metal Metallic Embroidery Thread Floss Restoration Ribbonwork NeedleworkHand-dyed Silk Embroidery Threads with short colour changes14 Count Cross Stitch Kits ;Victorian Heart (Pastel Pinks) ; A sampler with a Twist! Beautiful Kits By Maggie Gee Needlework StudioHand dyed, hand painted cotton thread for embroidery, cross stitch, point de croix - 'Rainbow'
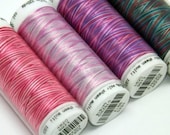
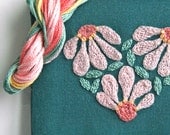
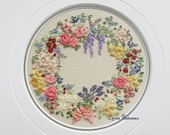
Pack of 4 Mettler Poly Sheen Multi Variegated Threads Pinks Plums Lipstick Gems Girlie Girl Brights Quilting Embroidery Thread PaintingDIY Crewel Embroidery Kit Gift Pouch zinnia flower heart on blue tealOne Off, Thread Selection, Hand Dyed Thread, Embroidery Thread, Cotton Thread, Viscose Thread, Canvaswork, UK Seller, Colour No 39 PistachioSilk Ribbon Embroidery - Miniature Wreath of Silk Ribbon Flowers - Full Kit
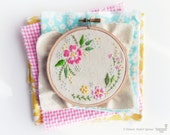
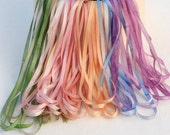
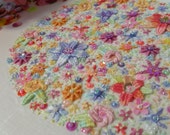
Embroidery kit, DIY kit, Hand embroidery - Circle of flowers - Embroidery hoop art, Broderie, Modern hand embroidery, Craft kit, Tamar nahirSleepy Fox - Cross Stitch KitFloral Garden 1 collection - Perle No. 12Cottage Garden 4mm Silk Ribbon Collection

Powered By Toastie Studio - Etsy Tools

Stitchy Goodness: Bright & Bold

Strong, gemstone colours perfect for dramatic stitching!
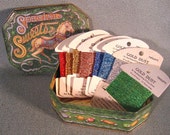
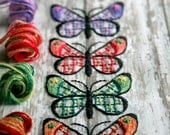
Vintage Metallic Embroidery Thread in Green Merry-go-round Horse Candy TinDIY Kit  Crewel Embroidery Kit butterfly butterflies on a white wash boardSilk  Embroidery Thread for Needlework, Embroidery, Stumpwork hand dyed in BriannaSix Strand Embroidery Floss | 127 - "Bifröst" | Hand-Dyed | 100% Cotton | 9 yds
October Silk Fiber Collection #9Rainbow mix - 21 metres of 2mm variegated silk ribbonHand Dyed Embroidery Thread Pack (10 colours) - Brights CollectionMediterranean, Hand Dyed Cotton Machine Embroidery Thread, Machine Quilting Thread, Tatting, Crochet, Creative Embroidery/Quilting
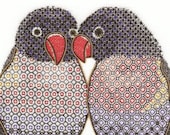
Rainbow Pear Cotton Set - Finca Presencia Perle Cotton - Red, Orange, Yellow, Green, Blue, PurpleSpool Rare Antique French Ombre Pink Copper Gold Grn 4-Ply Twist Metal Thread Metallic Embroidery Sewing Thread Ribbonwork MillineryBlackwork Lovebirds Embroidery Kit - Just the Two - of Us Beginners Hand Embroidery KitHand Dyed Embroidery Floss, Embroidery thread, Cross Stitch Thread, hand embroidery, cotton floss, sewing thread, needlepoint, quilting
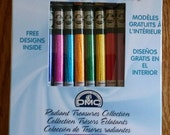
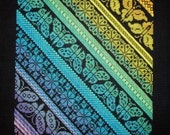
Pack of 4 Mettler Metallic Thread Quilting Embroidery Thread Painting Turquoise Sapphire Lime PurpleHand Dyed Fabric & Thread Collection: Chakra Colors - 7 Fat Eighths + 7x10yds Perle Embroidery ThreadSet of 8 DMC Satin Floss Radiant Treasures Collection Embroidery Cross Stitch NeedlepointNorthern Expressions Needlework - Twisted Rainbow Sampler

Powered By Toastie Studio - Etsy Tools

Spring Flowers: Needlework Kits

Stitchy kits and patterns perfect for Spring! The designs use all kinds of different needlework techniques but all feature pretty flowers :)
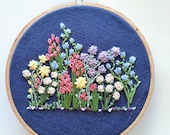
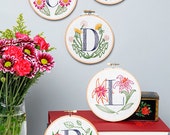
Hand Embroidery Pattern, Flower Embroidery Hoop Pattern, Embroidery Supplies, Beginner Hand Embroidery, Flower Embroidery Design, Flower ArtMaud (Brights) ; Discovering Woven Stitches **TRY SOMETHING NEW!** Beautiful Embroidery Kits From Maggie Gee Needlework StudioSilk ribbon embroidery Garden flowers - full kitFloral Monogram Embroidery Kit - Personalized Gift, DIY
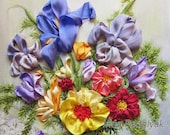
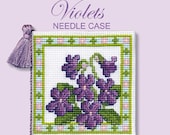
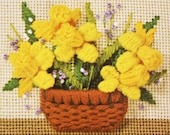
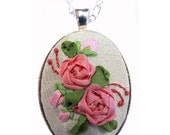
Textile Heritage Floral I Cross Stitch Needle Case Kits in a Variety of Designs-Violets, Tudor Rose, Orange Blossom, Poppy MeadowSpring Flowers Needlepoint Kit – vintage Sunset Designs Jiffy Basket Full of Daffodils, Betty Miles printed canvas 80s pattern, small 4 x 5”Silk Ribbon Embroidery Pendant Kit, pink rose necklacePDF Spring Garden Silk Ribbon pattern
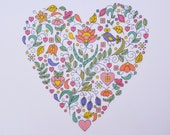
Floral Finch cushion cover modern cross stitch kitGarden Gate Canvaswork PatternTime for Tulips Mini Cushion Cross Stitch KitKIT Floral Heart Cross Stitch Sampler - Modern Heart Cross Stitch - Retro Feel - Contemporary Palette - Perfect Gift for Mother's Day
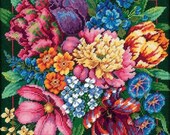
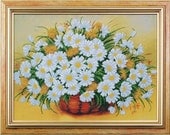
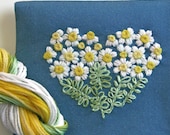
Needlepoint Dimensions Kit FLORAL Splendor Bouquet Flowers 14x14 NEW -Free US Shipping!!!Ox-Eye Daisies Beaded embroidery, beading on needlepoint kit, DIY beadpointDIY Crewel Embroidery Kit Gift Pouch daisy heart on blue tealOrchid Silk Flower Needlepoint Complete Kit

Powered By Toastie Studio - Etsy Tools

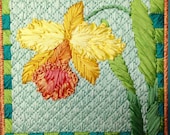
Also, is this not amazing?
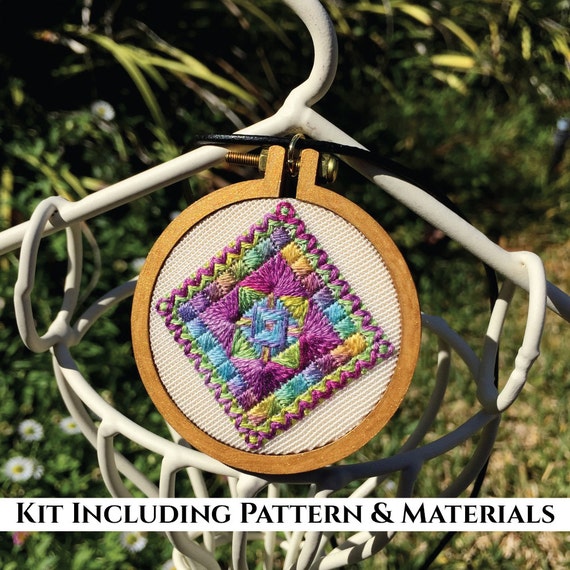


This is the "Canvaswork Embroidered Minihoop Pendant No. 2 Kit" by the shop Beautiful Stitches, which is located in Australia. It looks like an interesting project.

The amount of creative talent on Etsy alone is just awesome! And very inspiring.

Hope you find something to enjoy here, and if you curate some Treasuries of your own I'd love to see them! Feel free to leave a link in the comments :)

Are you a Buyer, Seller or Curator on Etsy? Found anything that you love lately?!

Friday, March 25, 2016

Gifted Gorgeousness: Floral Blackwork


Happy Easter to you all!!! Best Wishes for a Wonderful Spring :) The days here are getting longer, and we've had a lot of lovely sunny afternoons lately where the light has been bright and perfect for stitching so I've been busy with my needle lately! This has been a welcome surprise, since I'd been in a bit of a slump since Christmas ;) 

Speaking of which, for this post - my first for Jo's great Gifted Gorgeousness SAL for 2016 (if you'd like to join, you can do what I've done and just jump in whenever you want, isn't that wonderful?!) - we're actually going back in time to the Holidays.

It all started when Santa kindly gifted me with the December 2015 issue of JCS...


...and I promptly fell in love with Elizabeth Almond's Blackwork feature, a quartet called "Christmas Treasures", which you can see here:


I choose the design on the far left-hand side, which is a bit of a black sheep in the family as it is lacking some stitch features that the other three Treasures share.

Here's a closer view of the center square (without the floral border):


I just love the very center section with the geometric flowers within octagons! The original designs were charted in red with gold metallic and gold beads, which is a beautiful and classic combination for Christmas, but I wanted something that I could hang up all year around. So I chose a deep burgundy, DMC 3685, for my floss and a beautiful dusky pink -DMC Light Effects E316 - for my metallic:


And I'm very happy with the way it turned out, even though I made a lot of silly counting mistakes and was very frustrated with it for a while :)

Another silly thing - I had left all my stitchy supplies at home because I didn't think I'd get the time to stitch while we were visiting family! Thankfully, due to gifts of needles and thimbles from my Stitchy Guru Mother (who is truly awesome at finding stocking stuffers) and some money from my Groovy Grandparents that I spent in part to buy the fabric and hoop at a local quilt shop, I was able to kit myself out! I actually finished the entire center section shortly after New Year's Day.


And then I hit the Floral Border. That was actually what drew me to the designs in the first place, but while I was stitching one side I realized that the center of the floral sprigs did not align with the points of the center diamond. They were offset by one stitch, and although they were mirrored in the border, this mismatch was all I could see when I looked at the piece. It created a tension that constantly drew the eye, which may have been the the designer's intent, but it wasn't working for me.


So, after a lot of deliberation and a few tries at recharting the sprigs, I decided to give it up and ripped out what I had stitched. And then I took the geometric flower motif from the center square and drew up the border that I used, and although I wasn't sure about it while I was stitching, it ended up being my favourite part of the project!

Here is a close-up of the geometric flower motif from the center:


And here is a close-up of the lovely eight-petal flower that I used in the corners:


I really like the way the center pulled into an eyelet! The fabric is a white 28-count Evenweave, by a brand called Unique that used to manufacture a lot of sewing notions here in Canada (which has largely been taken over by H.A. Kidd). It is lovely to work with, but unfortunately the packaging was older and I suspect that it is no longer available. It came in a flat pack, with a blue insert.

One of the fun things about small independant quilt and fabric stores is that you never know what you might find, but often - as is the case with the store I visited - some of the stock is usually older and may not be in production anymore.

The other changes I made were to not add the beads (gasp! shock!) - I know that's unusual for me, but I didn't have any that matched either thread and I didn't want to add a third colour. But I made up for it by adding lots of the metallic, using it a little differently than the pattern suggested. 


My favourite section to stitch using the metallic thread was the Algerian Eye/Star Stitch checkerboard you can see in this close-up of the center section; it's a super simple fill treatment but the stitch really shows up the shine on the metallic, and this is a great idea that could be adapted to other projects. I tried to show up a bit of that fabulous sparkle in this photo, but it's so much prettier in real life:


And there you have it! I'm not entirely sure how I'm going to final-finish this off yet. I was originally thinking of following the project finishing instructions for the sort of overlarge flatfold ornament with the corded trim, but I may do something different. It's a little bigger than I expected; I started with a 6" Hoopla and had to move up to the 8" you see in the photos.

I also made a little mistake at the beginning - I started working it in hand, because I have always heard that it's harder to get hoop marks out of Evenweave than it is with Aida. But because the center has all these long stitches, the fabric distorted no matter how careful I was, so I bought the hoop and was very glad I did so. When I do get around to finishing it, I think lacing it over mat board will take out any remaining uneveness (at least I hope so!) - and the hoop marks weren't bad at all.

Also, a note to anyone thinking of stitching this design: although most of the stitching is all done with one strand of floss, you use a LOT of it. The only exception is the two mini-borders of cross-stitch, which are done with two strands (and which I chose to outline with added backstitch, using 1 strand, to make the lines more solid).

I only had a few tiny ends left of the burgundy - although I did lose quite a bit of thread ripping out the original floral border - and about 1/3 of the metallic skein left.

Thanks very much for reading! And be sure to hop on over to Jo's annual Easter Blog Hop - follow along at the stops to see lots of lovely Spring-ish stitching and collect the letters for the special mystery phrase! And have a Very Happy Easter :)

Blog News: Due to some Reader Requests (a BIG thank you to those who took the time to write to me with this suggestion), I've added the "Follow by E-mail" function to the blog, over in my Sidebar. If you try it out and have any problems, please let me know!

Wednesday, December 23, 2015

Season's Greetings!


May Your Holidays Be Merry And Bright :)

I'll be taking a little hiatus from the blog to spend some quality time with family and friends, but I'm very much looking forward to getting back into the Stitchy Swing of Things sometime in the New Year ;) 

Thanks so much for reading and supporting Eglantine Stitchery!

Wishing You and Yours A Wonderful Christmas 
And A Very Happy New Year in 2016!!!

Sunday, November 29, 2015

Autumn Leaves Applique & Ornaments


It's so hard to believe that the end of November is already upon us! And it's even more difficult to credit that Christmas is just around the corner - EEK!!! I try to get ready earlier every year, and yet somehow seem to fall further behind LOL ;)

This year, I decided to make something to bridge the gap between Hallowe'en and the Holidays, and I ended up with this little picture of falling leaves. It's a sort of surface applique technique that I've never tried before, and it was fun and quick to stitch!

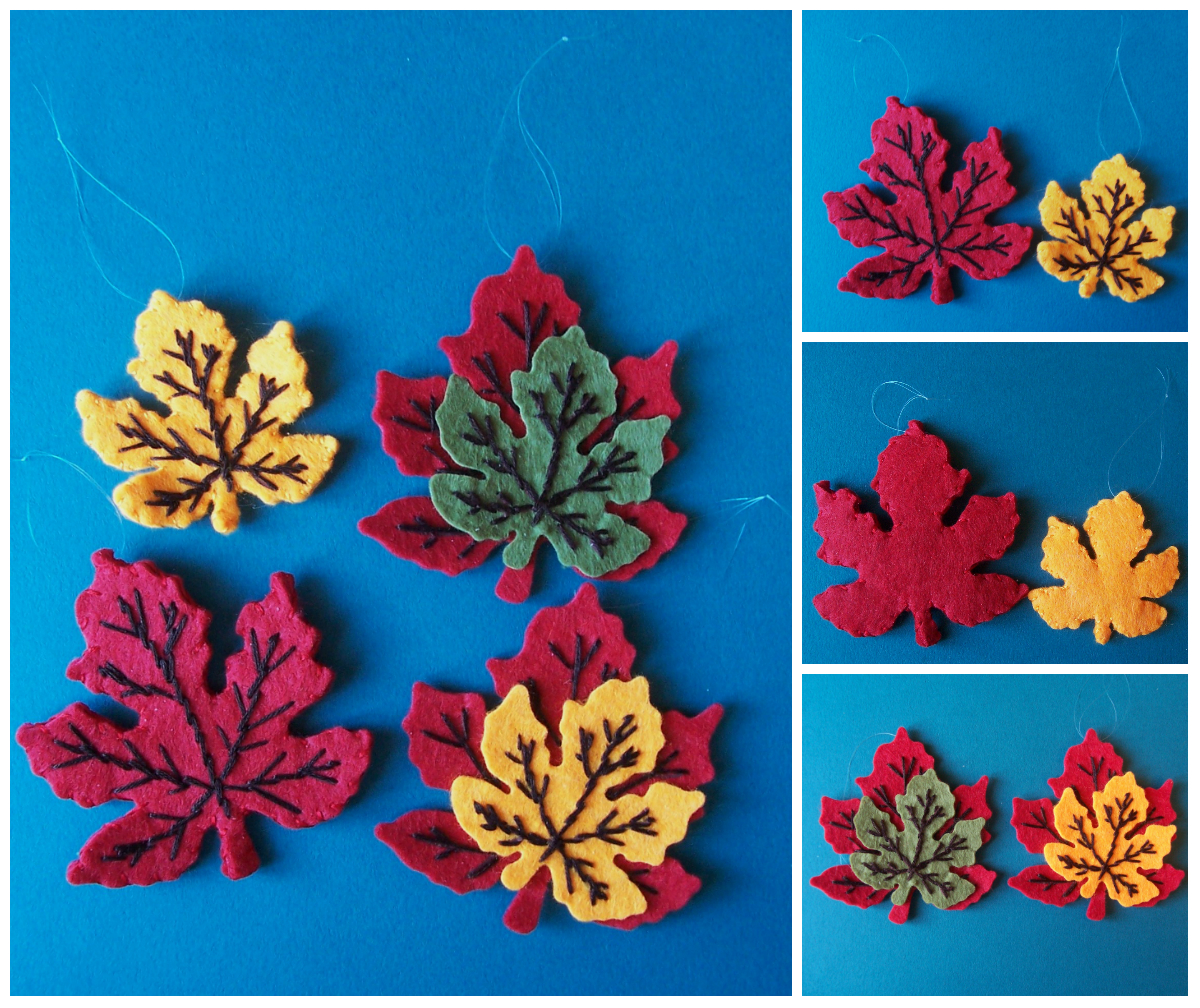
I had been thinking about finding some leaf patterns online (there's a nice simple template here) and cutting them out of felt or fabric myself, but then I discovered these pre-cut felt Autumn Leaves at the local dollar store (20 pieces for $1.25!):


I've never used felt pre-cuts like this before, but they seem to be very popular for papercrafting, card-making and scrapbooking. There were three sizes in this pack, a large red maple leaf and then two smaller yellow and green maple shapes.


The large red leaves were nice and thick, but the green felt was very thin, and some of the pieces were misprinted with the lines running off the edges of the leaves. But that was okay, because I flipped them over and used them for the backs :)

So I started out making single-leaf ornaments first, which I also used for the three appliques in the frame. I used three strands of DMC 3371 (Black Brown) and a sharp embroidery needle and embellished the lines already printed on the leaves:


I did the main veins in sewing-style Stem Stitch and just used Straight Stitch for the side veins. Fly Stitch would also work well. I started with the bottom of the center vein, worked up to the top, then worked the right side - going up the center vein and adding the branch veins on the way back down - and then over and up the left side.

At first, I was trying to keep both sides of the leaf roughly symmetrical, but I soon realized that it was quicker and looked better if the stitches were a little sketchy!

Because the backing would cover it, I stitched all the way through the felt (which you can see in the last photo in the collage above). Although the stitching was simple and quick to do, I really like the dimension it gave to the leaves :)

Adding a second pre-cut leaf as a backing added nicely to that 3-D effect:


Although I tried using Blanket Stitch for the edges, it flattened out the sharp little dips in the leaf edge, so I settled on Whip Stitch instead. I spaced them randomly, following the contours of the edges - which were asymmetrical - again using three strands of DMC in the shade that matched the leaf most closely.


When I had my three appliques for the frame, and an additional red and yellow maple ornament, I tried a variation using two different leaf sizes/colours layered together. I really like the way these turned out, but since the backs of the ornaments were left showing, I had to do the stitching sewing-style into the top layer of the felt (instead of the regular "stab" style going all the way through), which turned out to be much more finicky and time-consuming. I think I took out more stitches than I put in LOL ;)

And finally, for the framed piece I used three of the single-leaf appliques:


I had this inexpensive 5 x 7 picture frame (another dollar store find!) leftover from another project that didn't work out, and I arranged the leaves in a floaty falling design. When I was happy with the placement, I sewed them onto some pretty aubergine cotton fabric with matching thread. I focused on attaching the centers firmly, and anchoring the bases on the points, leaving the tips free to curl up a little.

As you can see, this let the leaves stand off from the fabric:


Please excuse the fuzzies in this photo - they're from the felt!

Then I dug up some sparkly flat silver cording from my Stitchy Guru Mother's stash, and set about making "wind gusts" with it! I tried couching it first, but after some experimenting, I decided to stitch through the middle of the cord with the Quilter's friend, Invisible Thread (there's a short Craftsy article on the thread here).


Overall, I'm pretty happy with how this turned out! My red maple leaf and the center gusty curlique were a little too close to the edge once I mounted the fabric on some mat board and popped it in the frame, but it has been nice to see this reminder of Autumn on my bookcase this season :) The ornaments I've hung up above the frame on the living room wall with my little stitchy smalls, and they brighten up the room.

Although it's probably too late to find pre-cut felt leaves, this type of embroidery could easily be adapted to any shape or Season. In fact, I'm really hoping to find some pre-cut felt snowflakes and do a similar thing for Winter! Maybe with some sparkly silver metallic thread? And beads?! (Oooh...doesn't that sound nice?) Once you get the hang of it, it's quick and easy mostly mindless stitching - and it's very relaxing to take a break and do something simple like this every now and again.


Adieu Autumn! and Welcome Winter!

Although I'm unfortunately behind again in my stitchy blog visiting and reading, this is the time of year that a lot of us start to sum up the Stitching Year That Was and talk about our goals for the New Year. Well - my year was a bust LOL! I only made one entry into Jo's wonderful Gifted Gorgeousness SAL, and all my plans went awry.

But that's okay, because it leaves me a lot of things to try next year :) I would really like to give my Sampler of Stitches (SOS) a solid shot, although I'm still not entirely sure how to go about it. There's something to be said for just winging it and trying to figure it out as you go along, and that's where I am right now with everything ;)


Santa Claus is soon coming to town!

Usually this time of year, I'm stressed out already with a huge list of Christmas gift stitching projects - almost as long as Kris Kringle's there! - that I desperately want to catch up with - most of which are never even started let alone finished - but this year I'm doing something a little different for a change. I have a few projects I've meant to stitch up or final-finish off for myself and never got around to doing.

So I'm going to make those poor neglected stitcheries my priority this year! All the ones that have waited patiently to be finished off while I put them away time and again in favour of something else and  for lack of time. I wonder if there's a special place for them, like the Island of Misfit Toys in Rudolph the Red-Nosed Reindeer)?

If so, hopefully I can rescue a few during the next few weeks ;)


Can you believe no child wanted the Elephant with his cute pink polka dots?!

How about you? What are your (non-Super Secret Gifty) Holiday Stitching plans?

Wednesday, October 28, 2015

Happy Hallowe'en - Black Magic Doily!


Black Magic Doily

My special Hallowe'en Variation of the free vintage Hortensia Doily

NOTE: Unfortunately, the site where I found this pattern has been hacked, so I've decided not to post the link in case it is infected. If you'd like the pattern chart, please e-mail me - my address is in the sidebar, under the pretty postage stamps :)

This is the original pattern:


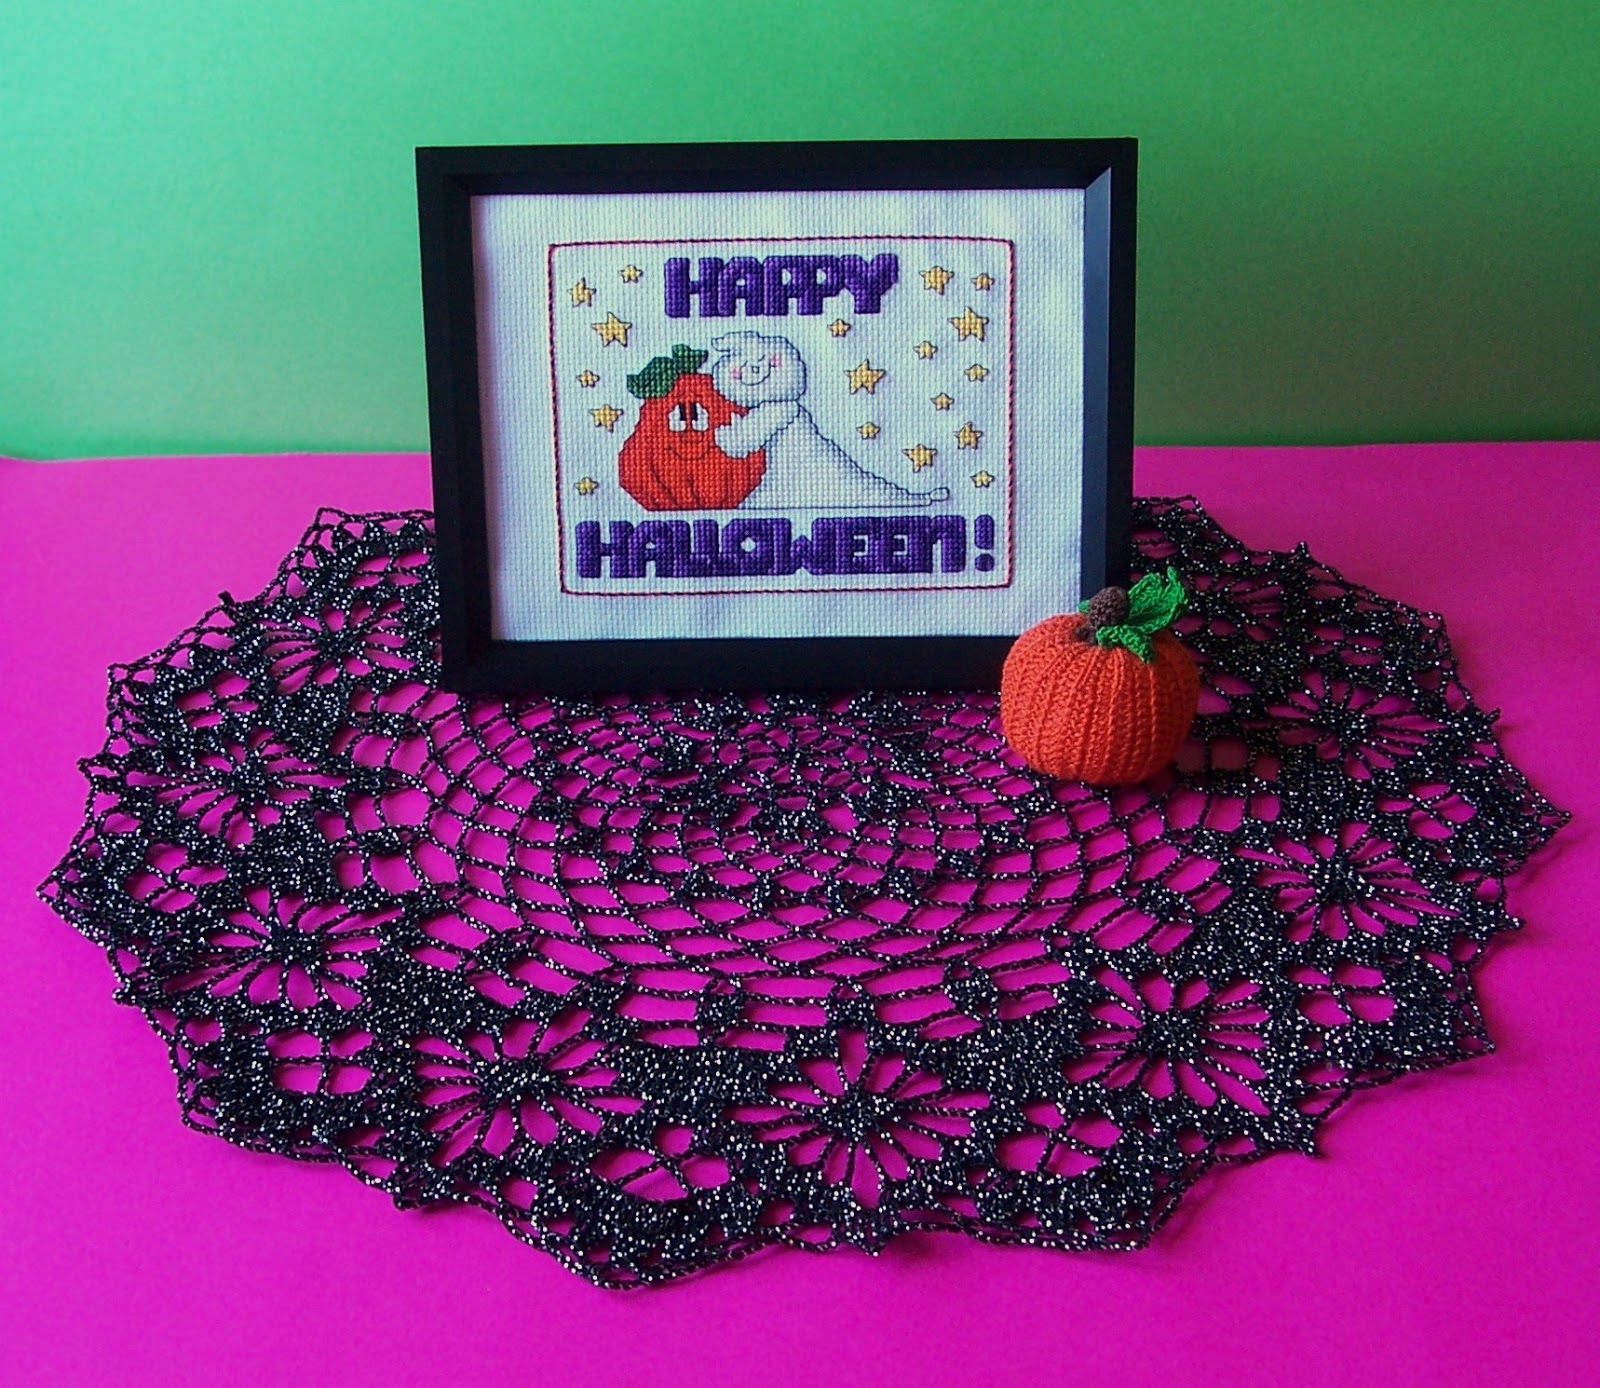
So, you might remember that around this time last year I finished and framed my very first Hallowe'en stitchery, Happy Hallowe'en Friends?


Well, I've been doing some more fine (thread) crochet lately, and I decided that the cute Ghost and Pumpkin looked a little lonely - so I made a spooky doily to keep them company :) Thanks to The Great Thrifty Karma Gods, I had a cool ball of black with silver metallic (size 10), and I ended up using nearly every bit of it. For the last few rounds, I was holding my breath and chanting "please let me make it" in my head over and over - and thankfully I did, with a scant few inches to spare LOL!

Here's a close-up of the little clusters in the center:


When I first thought about making a doily for Hallowe'en, the first thing that jumped to mind - naturally - was a spider's web! I've learned over the last few years that there are many different styles of crocheted lace, and I tend to like the chunkier Cluny and Irish styles. There are also a lot of fragile, spidery type doilies that are usually known as Cobweb Lace, but I wanted something more substantial.

Which was when I remembered a vintage motif I'd seen before. I thought it was - confusingly - called Cobweb Lace too, which it is; it's also known as Spiderweb Lace.


They key to this pattern style is the little square with the "spider" at the center, surrounded by lines of chain stitch "webs" :) It was often used in Edgings, and in combination with bunches of the pretty popular Pineapple motif for larger cloths.


The only change I made to the chart was to adjust the cluster groups between the "Spiderwebs"; the original called for 6 Clusters, but I downsized to 5 to save on thread. Serendipitously, this resulted in that neat pointed tip after I blocked the doily, rather than the loopy scallop of the original. It looks much more web-like this way, and I'm really happy with how the doily turned out :)


Amazingly, it's actually even sparklier in person! Unfortunately, the thrifted thread I used didn't have a label and I wasn't able to identify the brand. I've never seen that combination before, and the silver metallic is thicker than the more common white with silver that I've worked with before.


I also dug out the little Pumpkin Pincushion I crocheted back in 2013! Shortly after I wrote about it, I removed the pins and stored it away, not really sure what to do with it. I actually like it better this way, just as a display decoration. It's an Everlasting Pumpkin! I used to love real pumpkins, but I've never liked eating the seeds or pulp and it was such a waste to throw them away every year.

So here's my little Hallowe'en trio, spookily sweet and happily hanging out together:


I am a huge fan of Cute Hallowe'en, which seems to be getting rarer in the face of the much more common Horrific take on things. I love the treats, not the tricks LOL ;)

However you choose to celebrate All Hallows Eve, Happy Haunting!


Be Safe and Have Fun :)