It's so hard to believe that the Holidays have come around again! Seems like only yesterday I was getting ready for last Christmas 😂 2019 has been another challenging year for me, with serious illness in the family that demanded most of my attention.
Thank you so much to everyone who still reads these posts and has left kind comments, they mean the world to me 💐 Hopefully 2020 will be a better blogging year ☘
Wishing you a Christmas that is Merry & Bright
and a Stitchtacular New Year!
It's that time of the year again, and the Holiday Rush is upon us! It's the first time in forever that I've done a Stitchy News post, but I have some exciting news to share with you today, including an online stitchy advent calendar and a great giveaway! ❤🎄❤
Mary Corbet of Needle N' Thread is generously running her fabulous A Stitcher's Christmas giveaway series again this year, where she shares top of the line embroidery notions and supplies! She's currently on the 2nd Giveaway, so make sure to visit the website or sign up to her free newsletter (which sends you the blog posts as they are published) to keep up with the giveaways. If you're new to A Stitcher's Christmas, please visit this year's first post for more information on how it all works 😉
It's a super popular series, and there's often hundreds of entries for each giveaway, which can seem discouraging. But I was incredibly fortunate, and won the Inspirations Giveaway from 2017 , so if I can win, you can too! I wasn't blogging at the time so I haven't shared my kit finishes yet but I will soon. It was an incredibly difficult year for me, the first Christmas after my beloved Grandpa died (on Christmas Day 2016) and that prize made me pick up my needle and thread for the first time in over a year, and helped get me through a terrible time. Best of luck to you if you enter ☘
Laura at Bugs and Fishes has a super cute Retro Felt Baubles Tutorial for you, great for making last minute Christmas gifts! If you leave the ornaments unpadded, as Laura mentions, they would also be fabulous for sending in Christmas cards. There's all kinds of possibilities to pull out your embellishment tin and go crazy, and I think these would be a great way to use scraps of pretty trims and edgings!
The wonderfully imaginative Jo at Serendipitous Stitching is hosting her annual Online Advent Calendar Blog Hop again this year! The image above is one of my favourite finishes of Jo's, from her very first 2011 Online Advent Calendar 😃 This is such a great event, where stitchers share some holiday themed projects from years past and a bit about their own traditions. Make sure to hop along for some Christmas stitching and finishing inspiration! I look forward to it every year ❤
Finally, if you're looking for a super quick little ornament to whip up in a hurry, why not try my free Blackwork Poinsettia Ornament? It's two-sided, easy to customize, and doesn't need any backing fabric! I also have a full tutorial for the easy Whipped Chain Stitch Edging. This was my contribution to Jo's 2013 Online Advent Calendar.
In February, my friend Shannan from Bobbin & Fred stitched this gorgeous variation, and I had the pleasure of interviewing her about her finish for the blog! This remains one of my favourite patterns and can easily be made in a weekend. If you do stitch up a version, I'd love to see it, and feature you here on the blog if you like! 😊
Are you making like Santa Claus and doing any gift making this year? I don't have mine all lined up yet but I'm thinking about projects - unfortunately, they're all Super Secret!
❤ Whatever you're making for the holidays this year, may your Christmas be Merry & Bright, and may you Jingle All The Way ❤
This was my first planned spontaneous stitching project 😂 By which I mean that when I stitched my Joyful Jester, I started with a basic outline for felt applique and then I sat down with a bunch of embellishments - acrylic gems, sequins, beads, trims, metallic thread - and just made it up as I went along. It was so much fun, and just sort of flowed!
Ever since then, I've wanted to try to recapture that feeling, and with this project I deliberately set out to be flexible and spontaneous. I started with a basic double heart outline and a very simple idea (please see my SAL intro post for details):
As cross-stitchers, we're used to planning out our whole project before we start. We usually choose the chart, fabric, threads and any extras before we begin. Spontaneous stitching is a different way of creating, and it is both frustrating and freeing! My cohost Marianne works in this style for all her projects, both embroidery and cross-stitch, making them up as she stitches. It's a technique that lets you experiment!
I tried a lot of stitches on this project that were new to me, and it became a sampler of sorts. Although I loved this idea, it didn't fit with the image I had in my head for my heart, and so I cut it out. But the stitches themselves were not wasted - now I know how to make a funky loopy or cut flower for another project some other time! So while it was frustrating in the moment that it didn't work, it was also a great learning experience.
One of the other fun things about hand embroidery is that it's usually a lot easier to "unstitch" than cross-stitch - this flower took me over an hour to put in, after fussing with the cutting and taking process photos, but less than a minute to cut out 🤣
I found myself constantly thinking about different ways to stitch flowers and leaves, and how to put into practice stitches I've always admired but never tried. The Fishbone Stitch leaves and Buttonhole Stitch flower are some of my favourites, and I love the Double Cast On Stitch I learned for the fuschia roses! The Granitos stitch I learned for the Daisies is super useful, incredibly easy, and one I will definitely be using again 🌼
For inspiration, I even made a a special Pinterest board for the SAL, which has lots of tutorials and ideas you can use in any embroidery! I will also link to some of the tutorials in the list of stitches at the end of this post. It was very interesting to see my heart grow, blossoming from a simple lattice to a cheerful, colourful riot of flowers:
And after some surprisingly serious internal debate, LOL, I decided not fill in the empty spaces between flowers with French Knots. I thought that they would take away from the little French Knot flowers I had already added. I did try a few stitches but ended up taking them out, and instead added some turquoise seed beads for sparkle:
You know I love sparkle! Overall, this was such a fun project and now I just want to stitch flowers on EVERYTHING 😆 For anyone who is interested, here are some details:
I don't think I've ever shown one of these before, but I make little cardboard thread keepers like this for nearly every project and find them very helpful for keeping my working threads from becoming tangled! I just use nice white cardboard, usually rescued from some kind of packaging (this was gift card holder), punch as many holes and I need (as you can see, I added a few extra to this one as I went along!) and write the project information and floss colour names with a fine Sharpie. They usually look a little neater than this one, but I forgot to take a better photo, so please forgive the mess!
Worked like Whipped Backstitch, but the base is a Double Granito stitch, for extra width and a more even ratio of turquoise to yellow (Base 3846, Whipped Stitches 444)
If you have any questions about this project at all, please don't hesitate to ask! I really want to thank everyone who took the time to follow along with my progress, and those who left helpful and encouraging comments 😊
Your enthusiasm for my Lattice Heart kept me going, even when I was frustrated. Spontaneous Stitching is such a simple concept, but like most things, it's easier said than done and requires practice like any new technique, at least to those to whom it doesn't come naturally - like myself 😂 Whenever you're trying something new, there's always a bit of uncertainty and self-confidence - am I doing it right? Is it good enough? Am I wasting my time?- and all your feedback really helped 💙
I haven't final finished my Lattice Heart off; for the photos, I just tucked the excess fabric under the hoop. But I really like the way this Anchor Glitter Hoop matches the project, and I may buy another and finish it off as Hoop Art.
The Free Style SAL is still ongoing - anyone can jump in, at any time! It's a completely free, relaxed, and flexible stitch along. I'll be sharing some fabulous SAL finishes in my next post. Please use the hashtag #freestylesewalong when posting on Instagram so we can find you! You can also post elsewhere, but please send me a link so we can feature you. Just chose an outline motif and fill it with spontaneously stitched flowers 💐 Any needlework style is welcome - cross-stitch, embroidery, quilting, mixed media, needlepoint etc. - as long as it fits the spirt of the SAL!
Does the idea of Spontaneous Stitching appeal to you?
My stitching on my double heart for the Free Style Sew Along on Instagram is starting to take shape! But first, I wanted to let you know about a Pinterest Board I just made for the SAL, with links to tutorials and stitch guides for flowers, leaves, lattices and outlines:
If you have any suggestions for this board, please e-mail me the links!
Even if you are not stitching along with us, these are ideas you can adapt to any project!
For anyone who missed my previous post, the Free Style Sew Along is a stress-free, stitch-at-your-own-pace simple SAL! Started by my Instagram stitchy friend Marianne and myself, you can join in at any time and post your progress anywhere online, including your own blog. The idea is to find a simple outline motif you like - Marianne and I are both using the same double heart, which you are welcome to use as well (please see my previous post for the free pattern and other motif ideas) - and fill it with spontaneously stitched flowers 🌼🌷🌻
My last post covered my materials, pattern choice and transfer. I've added a few new colours, which I'll list in a later post since I may add a few more before I'm finished 🎨
I find it very helpful to hold on to the top of the chain stitch with one hand while gently tightening the Buttonhole Stitch loops with the other, and sort of slide them close together until each space is filled. I didn't count my Buttonhole Stitches, I just filled each arch until I couldn't add any more.
You could stitch down the center of each arch, and I might do so before I'm finished, but I like the free standing texture right now, even if my loops are a little wonky 😊
Fishbone Stitch Leaves are something I've been wanting to try for AGES, so I was very excited with how these turned out!!! They are fun to stitch too, and have great texture; I'm sure I will be adding some more here and there before I'm finished 🍃
And that's it from my end so far! Please do feel free to jump in and stitch with us 😃 You can follow the link in my sidebar at right to my Instagram profile (@aureliaeglantine) or leave a comment below! If you have any questions, please don't hesitate to ask and I'll do my best to answer 💐
Exciting news!!! I recently posted some photos on Instagram, of some DMC floss I recently bought (at the new DMC display at my local Walmart, of all places!) without a specific project in mind. I was so surprised and excited to find the new display that I just couldn't help myself, and picked up a handful of bright, cheerful colours 🎨 Fellow Instagram stitcher Marianne Matthews (@mariannemathewsxx) messaged me with a great idea. She asked if I seen any of those pretty free style floral embroideries that are popular right now, and I knew exactly the style she was thinking of!
Inspired by that idea, Marianne and I have decided on a simple Double Heart pattern:
We are flipping the voided part though, filling inside the outline instead of outside of it.
There are no rules or set dates for the SAL, it's totally stitch-at-your-own-pace 😃 The only requirement is to use a simple motif and fill it with spontaneously stitched flowers! You are welcome to use the double heart. Other suggestions: a simple five petal flower outline (a flower of flowers!), a geometric shape (diamond, circle, square, triangle, rhombus, star), an initial or monogram, a name, a short word (joy, hope, love)...the possibilities are many, and if you search "outline clipart" you may find some inspiration!
To create the heart, I found a free use clipart design I liked and then I shrunk the same design to make the cutout in the middle. Both Marianne and I are stitching a lattice in the center, but you could leave it blank, or stitch a single large flower or little bouquet. Anything you like!
This is my VERY tentative little doodle of what I'm thinking of stitching - proof that you don't need to be an artist to be an embroiderer 😂 I'd like to do a trio of Stem Stitch roses on the top left hand curve, with leaves on either side, and a slanted lattice in the middle. The squiggles are roses, lazy daisies and straight-stitch aster type flowers 🌸
For colours, I am going to try to stick mainly to the brights I bought, perhaps adding a few others:
Floss colours from left to right: 3846 (turquoise), 907 (green), 3607 (pink), 3837 (purple) and 444 (yellow). They are a little brighter than I would usually choose, but it's nice to try something different. And they are very cheerful! For fabric, I'm using some of my favourite turquoise that I had left over from my Joyful Jester project, which is very fitting because that was my first truly spontaneously stitched project 😃
Please excuse the streaky windows; the bright sunlight was not kind!
I did a quick window transfer, taping first the pattern and then the fabric to the glass. I used a fine black Pilot FriXion pen to trace the design:
I'm expecting to stitch over the lines, but in case I don't, if you blast this ink with a hair dryer (or any heat) it will disappear. I know there have been concerns about the ink reappearing when it gets cold, but this is a fun, fast project and I don't mind taking that chance. I wouldn't recommend using this pen for heirloom quality work though, just in case! I added some dots as guidelines for the spoke placement on the roses, using coins (a quarter for the large, a nickel for the small ones) as a template.
I'm also excited about using my brand new 8" Anchor Sparkles embroidery hoop, which I lucked into at Walmart on the same trip where I bought my floss! They have recently redone the embroidery section at my local store and I really hope that this will be maintained. I have sized my heart to print at about 5.5" in size but you can adjust it as needed. If you have any trouble downloading the pattern, please let me know!
Here's a picture of the Anchors Sparkles hoop; they are supposed to be available 6", 8" and 10" and in yellow and purple too. They also have a lip on the inner hoop to grip the fabric tightly, very much like my favourite Susan Bates Hooplas:
I really love the silver glitter embedded in the translucent blue plastic:
So that is the stitchy news from here!
I'd love it if you joined in and stitched along with me! You can join us on Instagram, or share your pictures on your own blog. You can also send me photos to post here, if you aren't online elsewhere. Please use the hashtag #freestylesewalong to share, so I can find you, and tag me! I'm @aureliaeglantine on Instagram 😊
And now, for something a little different! Recently, a nearby small local quilt store had an information session about hand-dyed Batik Fabrics, from a company called TrendTex which is a wholesale distributor here in Canada for several fabric lines, including Hoffman Fabrics, which was the focus of the presentation.
This list of Magnum's iconic shirts is a fun read! The presenter opened with a shot of this shirt (the back of a man with dark hair wearing it), asking if we could recognize the shirt or the wearer. No one did, but it's in The Smithsonian Museum now!
Hoffman is the California company that is credited with bring Batik into the main stream via Hawaiian Shirts in the 1980s (worn by none other than the original Magnum P.I., Tom Selleck)! They sell traditional Bali Batiks and more contemporary Indah Batiks under the brand name Me + You. Interestingly, this line is also selling Solids made of Batik cotton, which are a great compliment to the busy traditional patterns.
The Goody Bag, which came with a small roll of Batik squares, a branded chocolate bar, a pen, a handy little tape measure and a lint roller
At first I was hesitant to attend, since I'm not a quilter (yet) and the event was directed at quilters, but one of the shop ladies encouraged me and I'm glad I did! For the grand sum of $5, I got a great goody bag with small squares of Batiks perfect for backing ornaments or small embroideries and an information session about the TrendTex company and the fabrics they carry. When we took our seats, we also filled out a small questionnaire (about how often you quilt, etc.) that doubled as a ticket to a prize drawing of fabulous fabric sets (charm squares, jelly rolls, quilt kits). Not surprisingly, I didn't win a thing LOL If mine was the only ticket in the drawing, I'd still lose 😂
These were the fabrics in my Goody Bag! The assortments were random.
I particularly liked these indigo blue and turquoise combinations:
There were also discounts on Batiks cut off the bolt, but all of the fabrics I was really interested in - the vibrant rainbow hues - weren't available, unfortunately. There are so many different types of quilting fabrics, sewing notions and embroidery threads on the market these days that it can be overwhelming, especially when you live in a rural area like I do and have to order most of them online without being able to see them in person first. I wish there were more information sessions like this, just so we - as stitchy customers - could get a better idea of what we can buy! And where we can buy it 😊
Because TrendTex is a wholesale distributor, based in British Columbia, you can't buy fabric from them directly. However, if your quilt store is serviced by TrendTex, you can ask the owner(s) if they would be willing to order a specific item in for you; they may be happy to do so and you never know until you ask! The Batik section of the TrendTex website is fun to browse, just to get an idea of the patterns and colours available.
Some of my favourites are the rainbows:
And the foliage (leafy botanical) designs:
I have never used a Batik fabric, although I've often admired them at the quilt store! They are quite expensive, and the reason for this is that they are traditionally hand-dyed and hand-decorated, usually using a labour-intensive wax-resist dyeing technique.
I was a little disappointed that we didn't see a video about the methods that are used today for manufacturing Batik quilting fabrics. But when I got home, I discovered this documentary by Mr. Batik about modern methods of production:
And I was also able to find a video from Hoffman about their Batiks! There is no narration but it gives a great, quick overview of the dyeing process.
It is very interesting to contrast between the videos and see what has and hasn't changed with the creation of Batik fabrics over time. I found the making of the copper stamps ("cops") very interesting, and during the workshop, a vintage cop was handed around to us - it was incredibly heavy! Thee speed and accuracy of the printers with these heavy block stamps is amazing!!
While modern Batik is not the artform traditional Batik was, it still makes beautiful fabric where each bolt is different. Although it's important to note that there are ethical concerns about the working conditions in Batik factories, especially around the handling of toxic dyes and chemicals. We were told during the presentation that Hoffman Fabrics takes pride in its workers and provides the best possible conditions; even though the process looks primitive, the hot local conditions make heavy protective clothing very uncomfortable to wear.
For anyone wanting to read a little more about the history of Batik fabric, there is a quick overview here and a more detailed account at the Batik Guild.
I also discovered a video by American Patchwork & Quilting with seven tips for sewing with Batiks; although the video is for machine sewers, the tips are adaptable for hand sewers and embroiderers too!
Towards the end of the powerpoint presentation by the TrendTex representative, we were surprised with another roll of gift Batiks, slightly larger squares, again in random assortments. We were able to pick from several that the rep held out to our row, and again I missed the bright rainbow colours but I am very pleased with the pretty fabrics I did get, especially the chrysanthemum print:
Here's some close-ups:
The fabric on the bottom is much prettier in person, with very light blues and yellows:
I'm really looking forward to trying to stitch on these beautiful Batiks. One thing I learned from the information session that really surprised me is that the repeated dyeing in the wax-resist method makes the cotton fibres draw tightly together, and indeed Batik fabric has a smoother feel when compared to quilting cotton. The representative said that this makes hand-sewing with Batiks more difficult, so I'm glad to have smaller pieces of fabric like this to practice with.
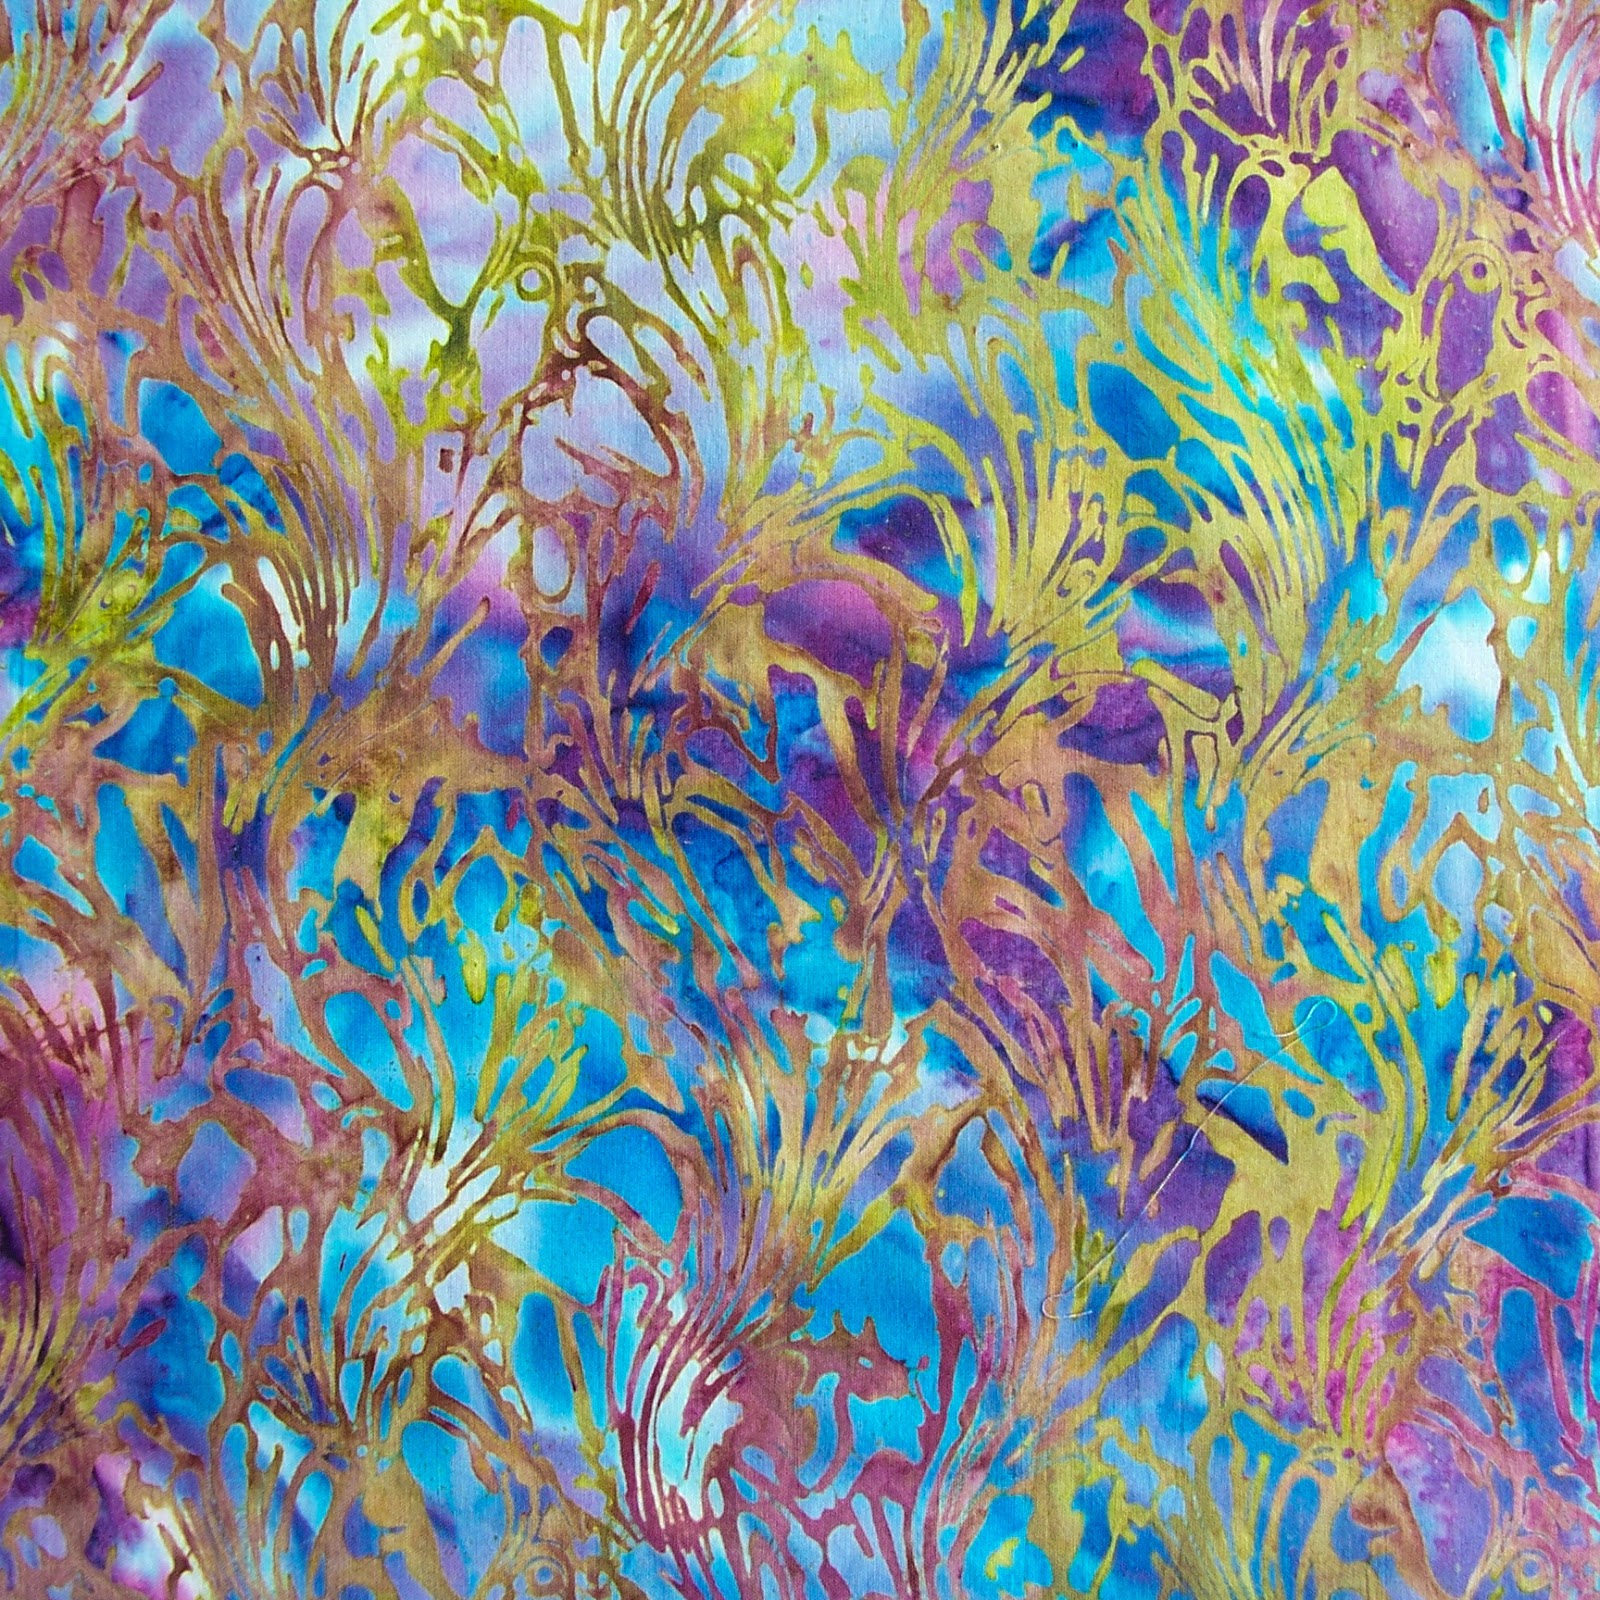
Some more of my favourites - this one reminds me of sea kelp:
And I love the traditional Batik wax dots on this pretty colour mix:
And finally, my very favourite of them all - this lovely chrysanthemum print:
One thing I've noticed about Batiks is the beautiful, unusual colour combinations. A favourite Batik print would be an excellent jumping off point for developing a floss colour palette for a stitchy project! And the variegated nature makes them an attractive backing fabric, in my opinion, for stitchy patterns that use a lot of colour, or for when you can't match a single shade exactly. They are lively, colourful and powerful prints, even when used in small amounts!
What do you think of Batiks? Have your ever worked with them, or would you like to? And would you attend a fabric information session?


